Please fill in the fields to search in more detail.
A clean seat-rail opening starts with a small cut, not a guess. The best way to trim moulded carpet around seat rails is to dry-fit it, mark the clearance carefully and remove material in stages. One misplaced cut can spoil the finish or leave too little room for the rails, so use a measured process and check the fit as you go.
This guide explains how to position the carpet, identify where the rails and mounts need clearance, and make small cuts before trimming further. You’ll also learn how to assess the carpet and underlay separately, so you don’t remove more material than necessary. For a right-hand-drive restoration, starting with moulded carpet shaped for the correct vehicle can make positioning more straightforward. Follow the steps in order, and don’t rush the final checks.
Seat-rail openings need enough clearance for the rails and mounts without removing more carpet than necessary. The final position depends on several things working together: the moulded contours, the carpet’s placement on the floor pan, any underlay beneath it and the actual rail locations. If the carpet shifts, a mark that looked right at first can end up out of position once the material settles.
Moulded carpet is shaped to follow a vehicle’s floor rather than laid as a flat sheet. Its contours help guide placement, but folds or tension can pull the material away from its natural position. Underlay can also change how the carpet sits around a raised mount or edge. For general background on automotive carpet construction, see this Molded Carpet Overview. The important step is to assess the carpet and underlay in their actual fitted positions.
A neat clearance opening exposes only the space needed for the rail or mount. Don’t cut away carpet beneath mounting hardware or enlarge the opening just to make refitting easier. Keep the carpet clear of moving rail components while preserving as much coverage as the fit allows.
Place the vehicle-specific carpet over the floor pan and let its contours settle before marking anything. Check that it isn’t pulled tight, folded or sitting high over the underlay. A crease can shift the apparent position of a rail, so a mark made before the carpet lies naturally may put the opening in the wrong place. Dry-fitting shows where the rails meet the settled carpet, helping prevent a permanent cut in the wrong position.
Use the actual right-hand-drive vehicle as your reference. Identify each rail path, mounting point and nearby carpet edge, then assess the driver’s and passenger’s seats separately. Their openings may differ, so don’t assume one side is a mirror image of the other. Check where the underlay ends or changes height, too, so you can distinguish the carpet from the layers beneath it. This assessment is the starting point for the best way to trim moulded carpet around seat rails.
Accurate marks give you a clear guide for trimming and help keep each opening close to the rail. Start with a clean, dry floor area so grit or loose material doesn’t distort the carpet’s position. Expose the rail path as needed. If moving or removing a seat is necessary, follow the vehicle-specific procedure and handle its mounting hardware accordingly.
Work through these steps before making a permanent cut. Use removable tape or a suitable marker that’s visible on the carpet. The key is to make marks you can see clearly and remove if needed.
Mark only the clearance the rail needs. Small marks at the edges and mounting points can guide a controlled opening more accurately than outlining a large area all at once. If the carpet shifts while you’re marking, stop and reposition it before continuing. The Tips for Installing Automotive Carpet also discuss careful, accurate trimming around vehicle components.
Check the driver’s and passenger’s sides independently. In a right-hand-drive vehicle, don’t assume the rail positions or carpet openings are mirrored, even if the floor areas look similar. Compare each set of marks with its own rail path. Make each cut only after checking its mark against the actual rail. That’s the practical principle behind the best way to trim moulded carpet around seat rails.
For a restoration, starting with right-hand-drive moulded carpet shaped for the vehicle gives you a useful basis for marking. Still, use the actual floor and rails to locate every opening before cutting.
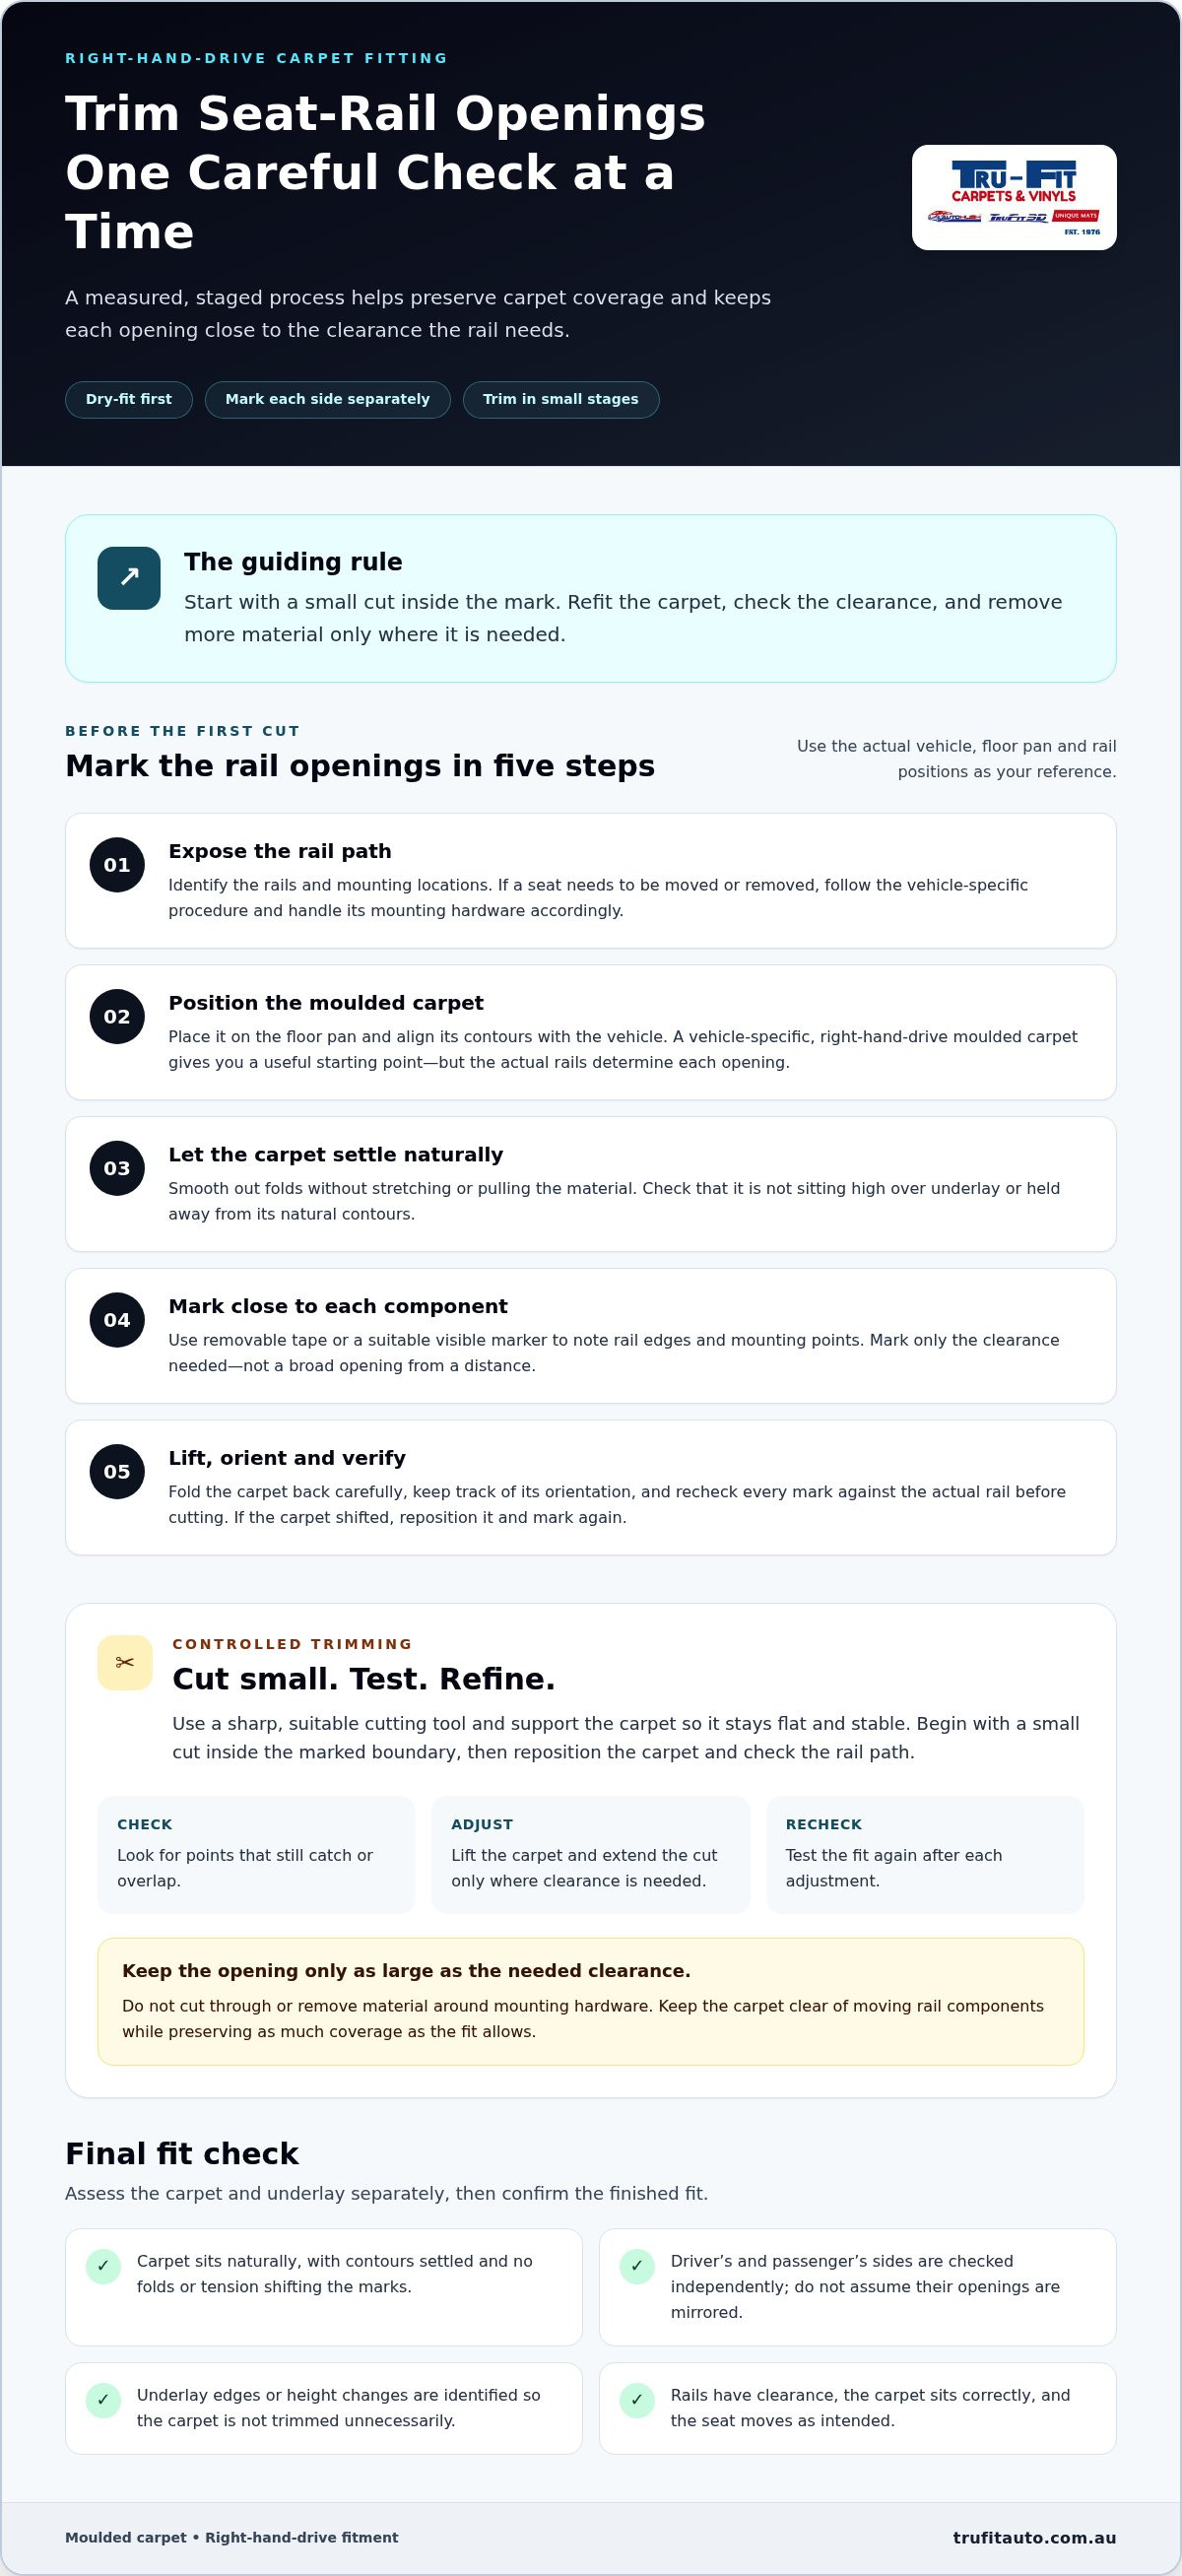
Once you’ve checked the marks, trim gradually. A single large opening may seem quicker, but it removes material before you can confirm the fit. Small cuts let you reposition the carpet and see exactly where more clearance is needed. That control matters around seat rails, where an oversized opening can leave a gap that further trimming can’t fix.
Use a sharp, suitable cutting tool and support the carpet as you work. Begin with a small cut inside the marked boundary, not on or beyond it. Reposition the carpet and check the rail’s path. If a point still catches or overlaps, lift the carpet and extend the cut only where clearance is needed. Check the fit again after each adjustment.
Small test cuts leave more room to refine the opening. Remove only the carpet needed for clearance. Don’t cut through or remove material around mounting hardware, and keep the finished opening clear of moving rail mechanisms. If the mark looks wrong once the carpet is lifted, stop and check its position against the rail before using the blade.
Make deliberate cuts with the carpet flat and stable. Dragging a blade through an unsupported section can shift the material or make the edge wander. Don’t make a larger opening to compensate for a rail that appears misaligned. Reposition the carpet and verify the mark instead.
Compare the two approaches against the same practical measures:
Gradual trimming takes repeated checks, but each check helps guide the next cut. That’s the best way to trim moulded carpet around seat rails without turning a small clearance point into an unnecessarily large opening.
For a right-hand-drive restoration, begin with carpet shaped for the correct vehicle, then trim to the actual rail positions. Explore right-hand-drive moulded carpet options for your flooring project.
After trimming, check the carpet and seat operation before considering the job finished. Each opening should provide clearance without removing excess material or interfering with the rail. Check both front seats, assessing each side on its own.
If you find contact or bunching, stop and correct the carpet position rather than trimming away extra material by guesswork. The best way to trim moulded carpet around seat rails includes checking the fit with the seats in operation, not just inspecting the openings while the carpet is loose.
Moulded carpet shaped for the correct vehicle follows its floor layout, making it a more controlled starting point than a flat, general piece. For a right-hand-drive restoration or replacement, choose carpet intended for that vehicle’s layout, then use the actual rail positions to guide final trimming. The moulded shape helps with placement, but the vehicle itself remains the reference for each opening.
Tru-Fit Carpets by Vision Auto supplies moulded carpet flooring for vehicle restoration projects. Explore Tru-Fit moulded carpet flooring as a starting point for your right-hand-drive flooring project.
A successful trim is one part of a considered flooring refresh. Once the seat rails move freely and the carpet sits cleanly, consider how the rest of the cabin floor will work with it. The best way to trim moulded carpet around seat rails is to preserve a close, tidy fit while choosing carpet that suits the vehicle’s layout, especially for a right-hand-drive restoration.
Tru-Fit Automotive Products specialises in custom-fit automotive flooring, including moulded carpet. The range also includes moulded vinyl, custom-fit floor mats and underlay, so you can plan a consistent finish across the vehicle. Choose flooring shaped for your application, then use the careful fit-and-check approach to guide any required trimming.
Ready to plan your flooring project? Explore Tru-Fit moulded carpet flooring and choose a starting point for your vehicle. With the right fit and a measured approach, you can work towards a neat, well-finished interior.
Sometimes, but only if you can clearly see and safely access the rail opening. Moving the seat may expose more of the rail path, but don’t cut blindly around installed hardware or reach beneath a seat mechanism with a blade. If the seat needs to be removed for access, follow the vehicle-specific procedure. The best way to trim moulded carpet around seat rails is to work with the carpet supported and the cut location visible.
Make the opening only as large as needed for the rail and its movement, rather than using a standard size. Clearance can vary between vehicles and between the two front seats. For example, if one section clears the rail but another catches as the seat moves, adjust only that point. Don’t widen the whole opening to solve a local contact issue. Check clearance through the seat’s intended travel before finishing the edge.
It can, depending on the carpet’s construction and how cleanly it’s cut. Use a sharp, suitable tool and make a deliberate cut rather than sawing or dragging the blade through the material. Keep the carpet steady and supported to help prevent an irregular edge. Inspect the cut after trimming. If loose fibres remain, tidy only the affected edge without enlarging the opening or disturbing material near the rail.
Not automatically. Carpet and underlay are separate layers, and the underlay may sit differently around a rail mount. Check how each layer lies before trimming, and remove or shape only what prevents the carpet from seating or the rail from moving freely. Don’t cut underlay or carpet beneath mounting hardware. If the underlay shifts or bunches during fitting, reposition it and reassess rather than cutting a larger opening through both layers.
It can be shaped for a particular vehicle layout, so choose moulded carpet intended for the correct right-hand-drive application. Don’t assume a left-hand-drive pattern will fit by turning or mirroring it. Rail paths, floor contours and nearby edges need to match the actual vehicle. During a restoration, compare the carpet’s shape with the cabin floor and seat positions before trimming, and assess the driver’s and passenger’s rail openings independently.
Stop cutting and refit the carpet to see exactly what is exposed and whether the edge interferes with the rail. Don’t stretch the material or make extra cuts to hide the gap. If the carpet shifted before the cut, repositioning may improve how the opening sits, but it won’t replace material that’s been removed. If the opening remains too large or affects the finish, a correctly shaped replacement may be the sounder option.
 To Order Free Call 1800 335 896
 Cart


